How to automate customers' birthday messages with Engage
Learn how to use Engage to create an automation to send happy birthday messages to your customers.


Engage's automation feature has a date attribute trigger that lets you trigger an automation based on customers' attributes that are dates. This means if customers have a date of birth (dob) attribute, you can create an automation that is triggered on the day to send a "Happy birthday" message.
Adding the date of birth attribute
The first step to doing this is to add a date or birth attribute to your customers' profiles. There are a couple of ways to do this.
CSV import
You can directly import your customers to Engage via CSV. We don't always recommend bringing in customer data through CSV as there is no way Engage can track changes to customer data and use that to dynamically move customers across the right segments. However, to test things out, this is still a good way to go.
- Create CSV with the dob field.
- On your Engage dashboard, visit Customers -> Import customers
- Upload the CSV file and ensure you select the dob field
- Upload
API/SDKs (recommended)
You can use the Engage API or any of our SDKs to track the customer's date of birth as part of the attributes to send to Engage. You only need to identify points within your application where customers set or update their date of birth and make an API or SDK call at that point.
Engage.addAttribute('u144', {
 plan: 'pro',
 promotion: true
})$engage->users->addAttribute($userId, [
'dob' => '1996-01-05'
])To send data for existing customers, you can write a simple script that runs through your database and send the data to Engage.
Notes:
- The API is throttled at 20k requests per hour so if you will be doing more than that number per hour, limit your requests and spread it across a couple of hours.
- If you send a date data but it's not displayed as a date attribute, you can visit the attributes page on your Engage dashboard to set the attribute format. When you send event or attribute data to Engage, Engage guesses the data type and sometimes this may not be the data type you want. Setting the type on the attributes page ensures subsequent data for that attribute is forced to the new type.
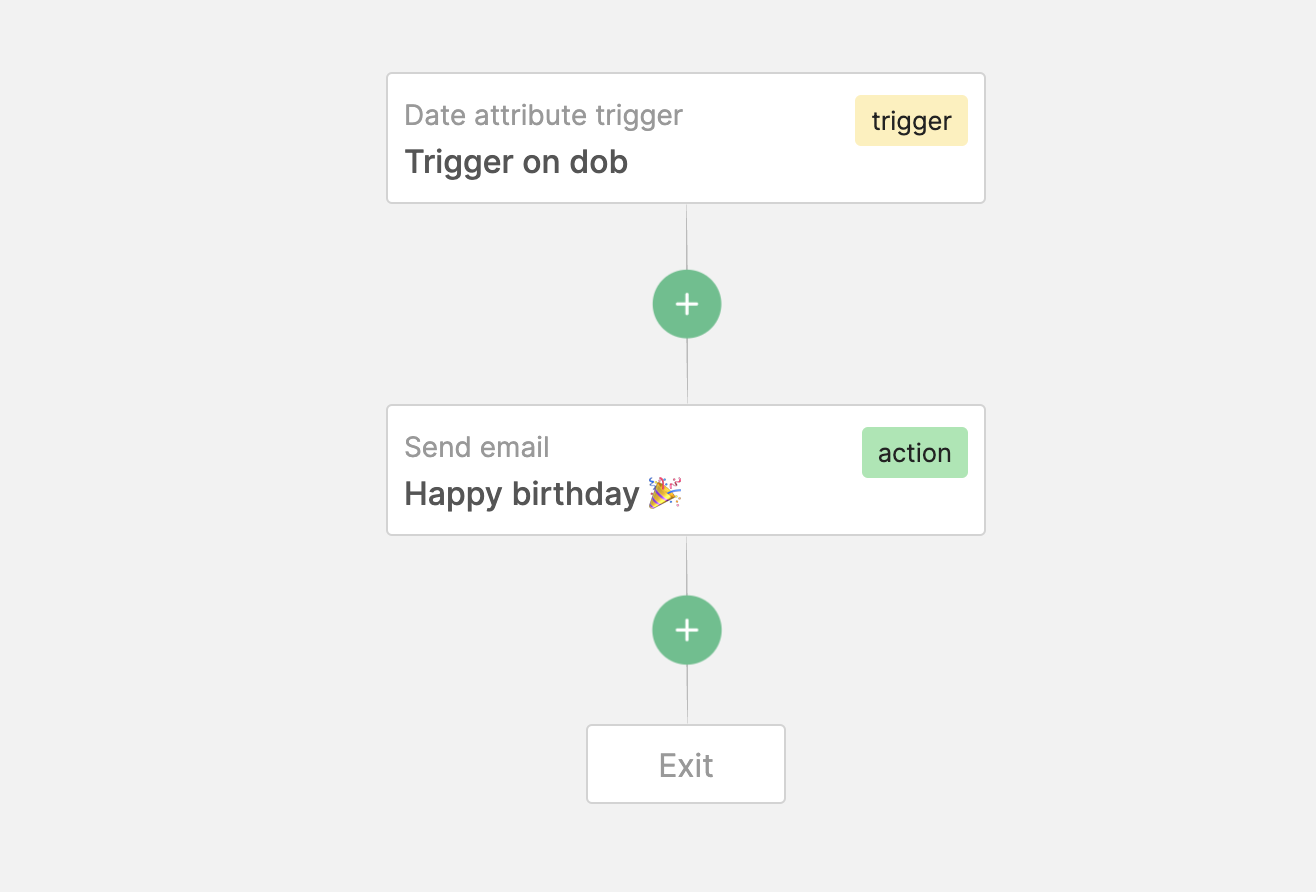
Creating the automation
- Go to Automations on your Engage dashboard
- Add your automation name and other details. Ensure "Run only once per customer" is unchecked since we want the automation to run multiple times (multiple birthdays) for every customer. No need to set a goal and exit condition.
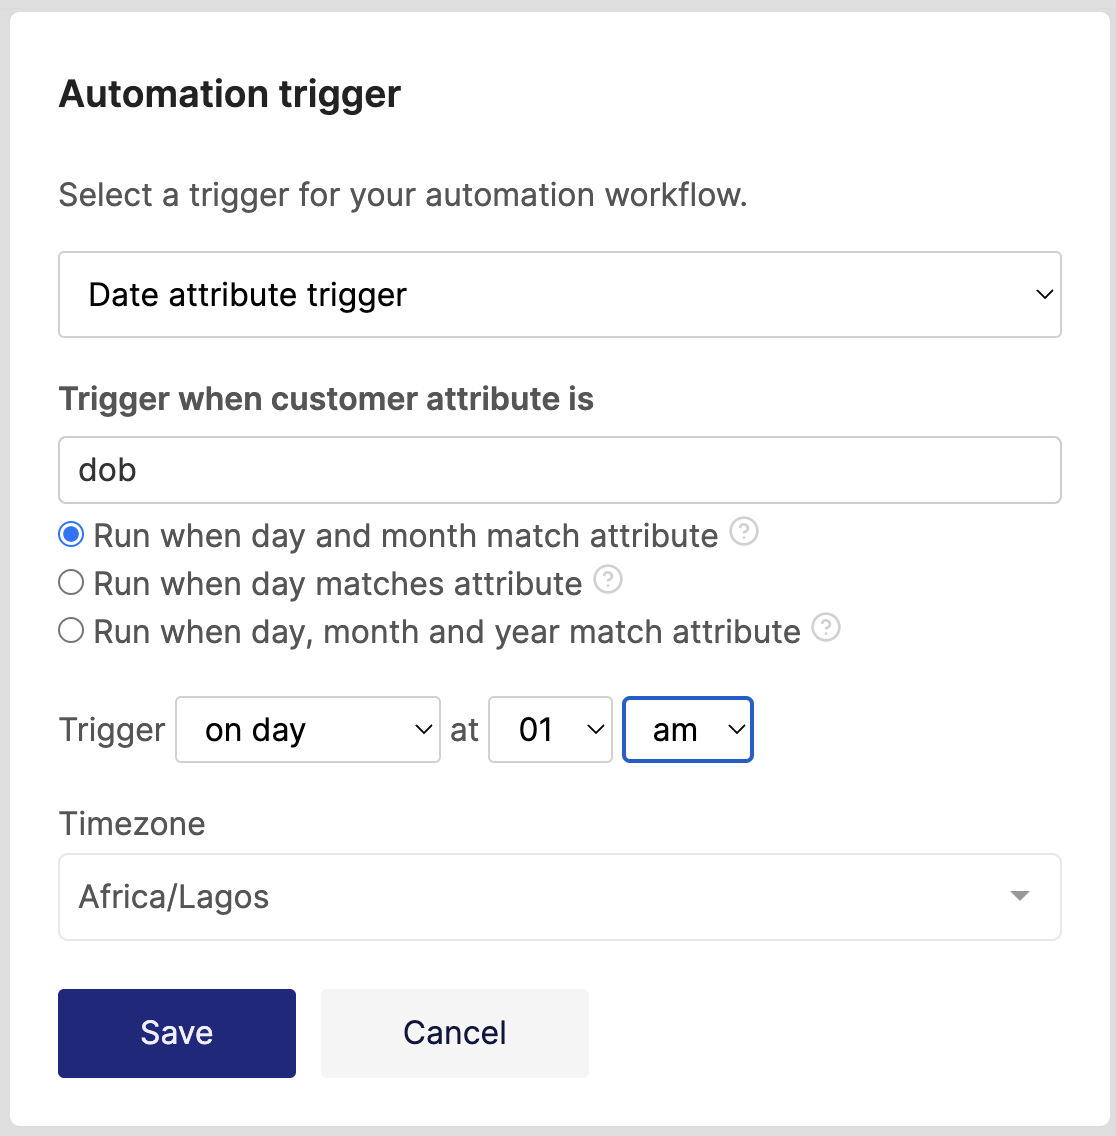
- For your trigger, select "Date attribute trigger". Select the dob attribute as the attribute to match. Check the "Run when day and month match attribute" option. This means the current day only needs to match the dob day and month to trigger. The year part is ignored. This way, the automation runs every year. Finally, select the time you want it to be triggered and click the "Save" button.
- Add the next stage of the automation. Depending on if you want to send an email or SMS, you can choose either the Send email or Send SMS actions.
- Publish!
Conclusion
The birthday reminder is just one of the many things you can do with the date attribute trigger. For example, you can use it to send reminders for payments or appointments.
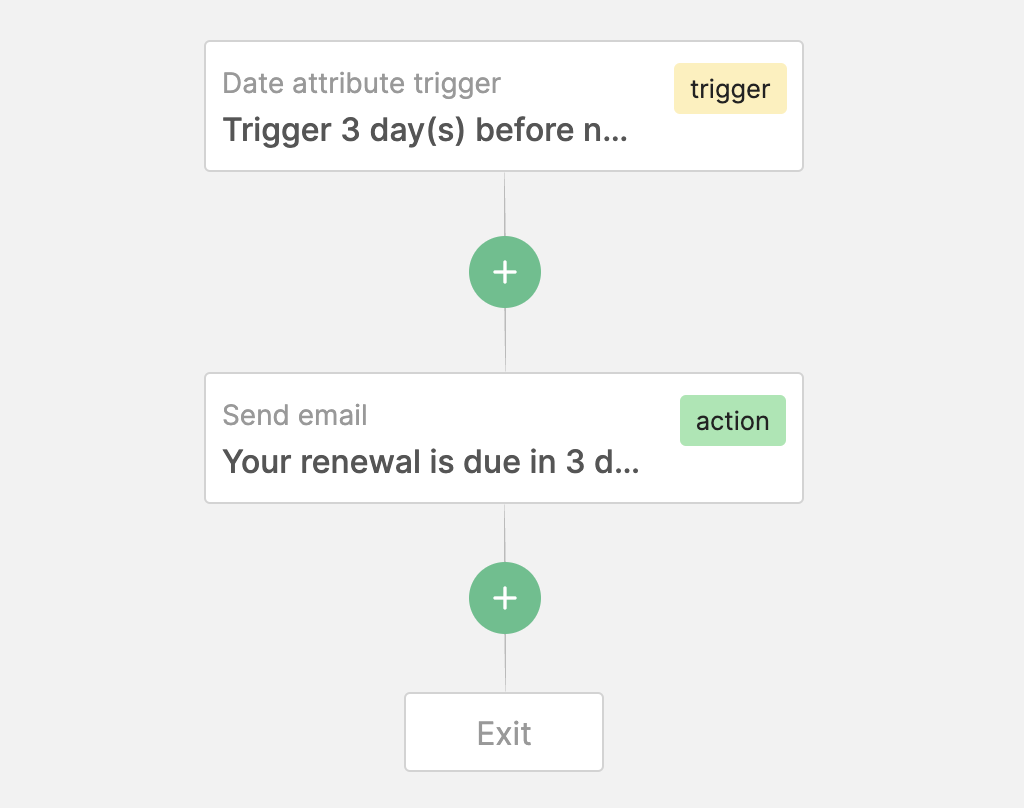
For payment reminders, you only need to update your customer's profile on Engage with the next payment due date.
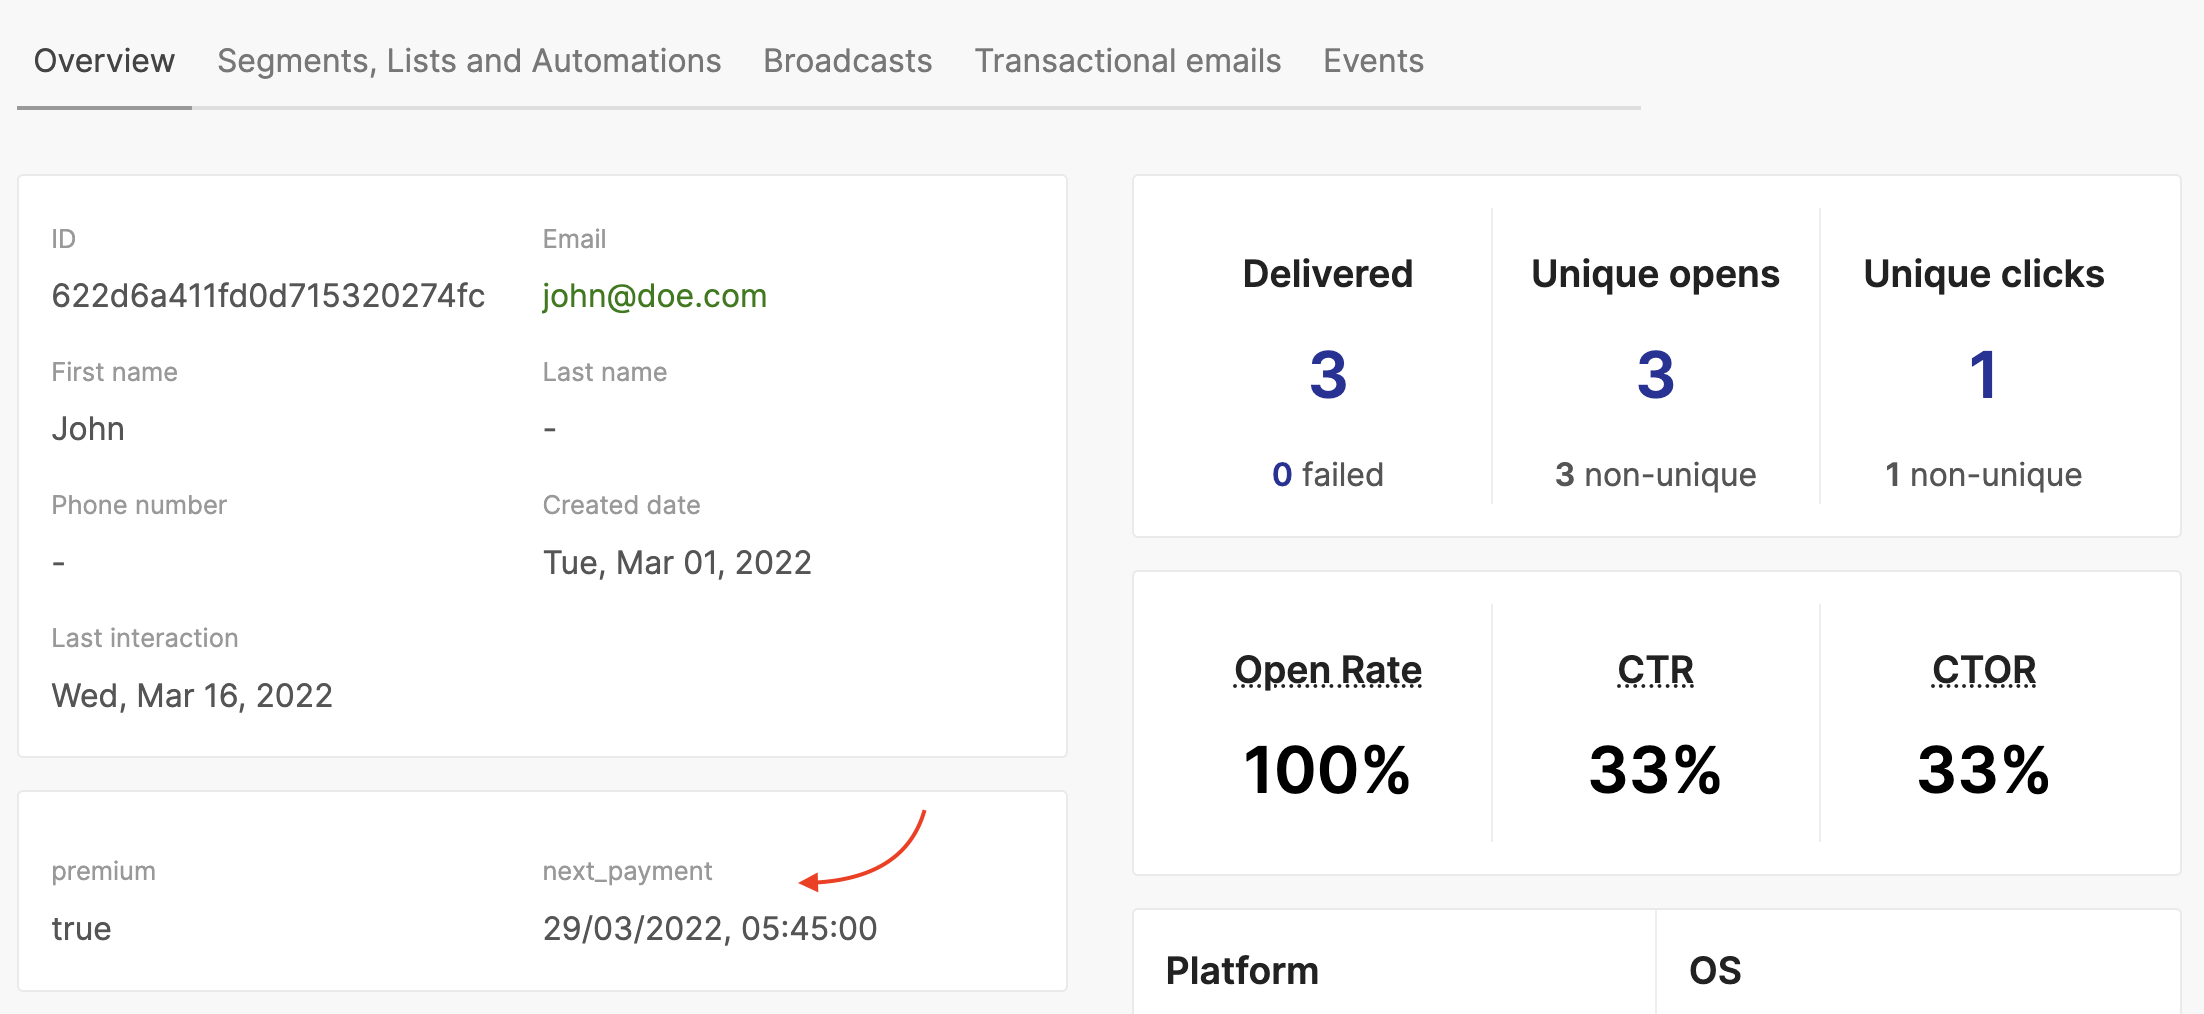
You can then create an automation to send a reminder 3 days before
If you use Stripe for payment, remember you can connect your Stripe account to Engage for payment notifications and receipts. Stripe sends an "Invoice upcoming" event to Engage and you can use that to trigger a reminder.
If you need to remind customers of their next appointment or a particular date, update the customer's profile with the date as an attribute and create a date attribute triggered automation based on that attribute.